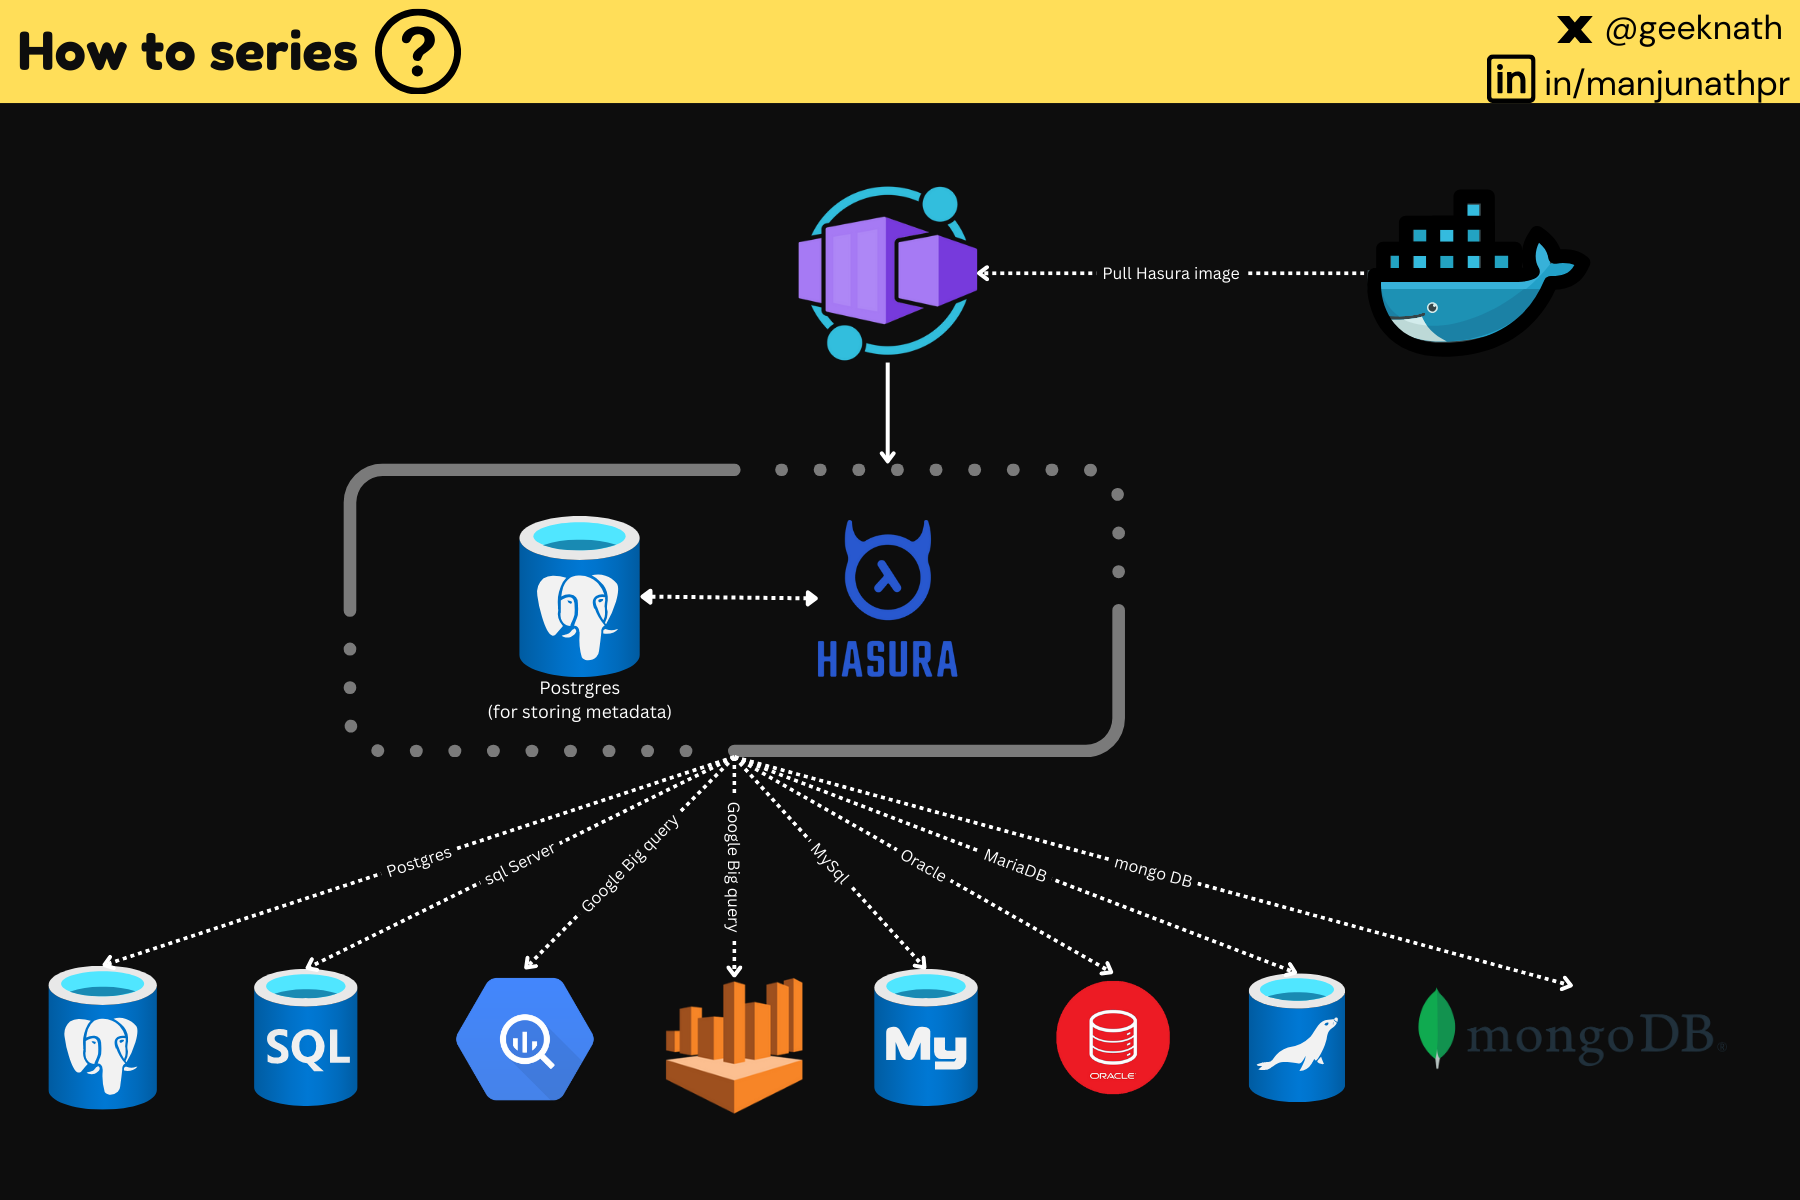
Hasura, a powerful GraphQL engine, offers documentation on deploying it using Azure Container Instances (ACI), a service that allows you to run containerized applications in the cloud without managing the underlying infrastructure. However, I encountered several challenges during the process, which highlighted the limitations of the existing approach and underscored the need for a more user-friendly and scalable solution. Below are the pain points with the approach
- The existing documentation requires significant trial and error to execute successfully.
- The provided ARM templates are riddled with issues, making the one-click deployment process unusable.
- ACI does not automatically adjust its resources based on demand. To scale up, you have to delete the container and redeploy, which can be inconvenient.
To overcome these issues, I found that Azure Container Apps (ACA) offers a better alternative. ACA provides the necessary flexibility while removing the need to deal with complex configurations, such as those in Azure Kubernetes Service (AKS). Here’s a step-by-step guide to deploying Hasura on ACA.
? Prerequisites
- Azure CLI: Install Azure CLI on your machine and log in using an account with sufficient access to create resources.OR
- Azure Portal: Log in to portal.azure.com and run the Bash shell directly in the portal for a faster and easier setup.
? Deployment Steps
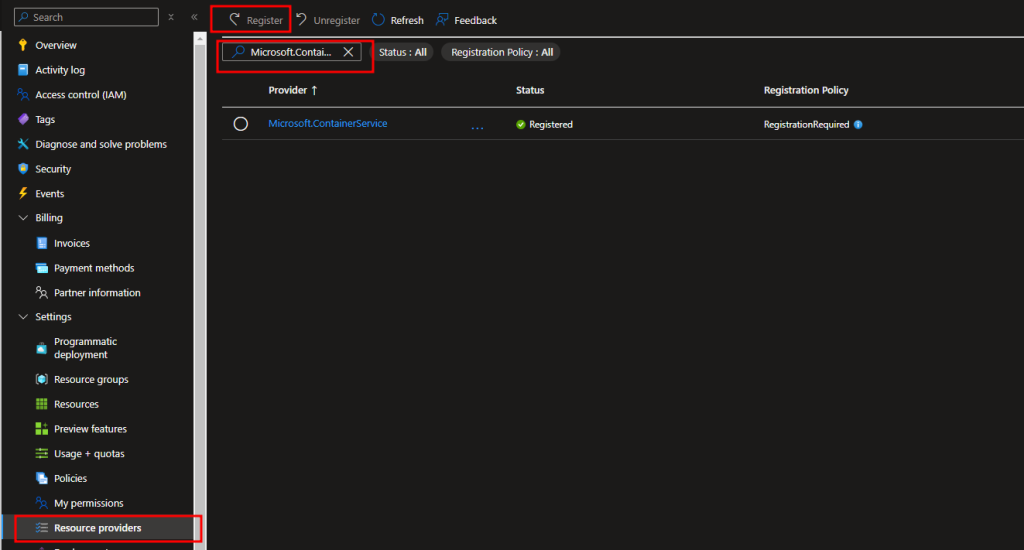
⚙️ Step 1: Register the Resource Provider
To use Azure Container Apps, you need to first register the Microsoft.ContainerService resource provider.
- Navigate to Subscriptions.
- Select your subscription.
- Go to Resource Providers.
- Search for
Microsoft.ContainerServiceand click Register.
? Step 2: Create a Resource Group
Run the following command to create a resource group:
az group create --name <YOUR_RG_NAME> --location southeastasia? Step 3: Create an Azure PostgreSQL Flexible Server
Hasura requires a database to store its configuration. Create a PostgreSQL Flexible Server using the following command:
az postgres flexible-server create --resource-group <YOUR_RG_NAME> \
   --name "<YOUR_POSTGRES_DB_SERVER_NAME>" \
   --location southeastasia \
   --admin-user <YOUR_POSTGRES_DB_ADMIN_USERNAME> \
   --admin-password "<YOUR_POSTGRES_DB_ADMIN_PWD>" \
   --sku-name standard_b1ms \
   --tier Burstable \
   --version 16 \
   --database-name <YOUR_POSTGRES_DB_NAME>
Enable the database to be accessible by Azure services: This step ensures that Hasura can communicate with the database for storing and retrieving its configuration and operational data.
az postgres flexible-server firewall-rule create \
--resource-group <YOUR_RG_NAME> \
--name <YOUR_POSTGRES_DB_SERVER_NAME> \
--rule-name allowazureservices \
--start-ip-address 0.0.0.0 \
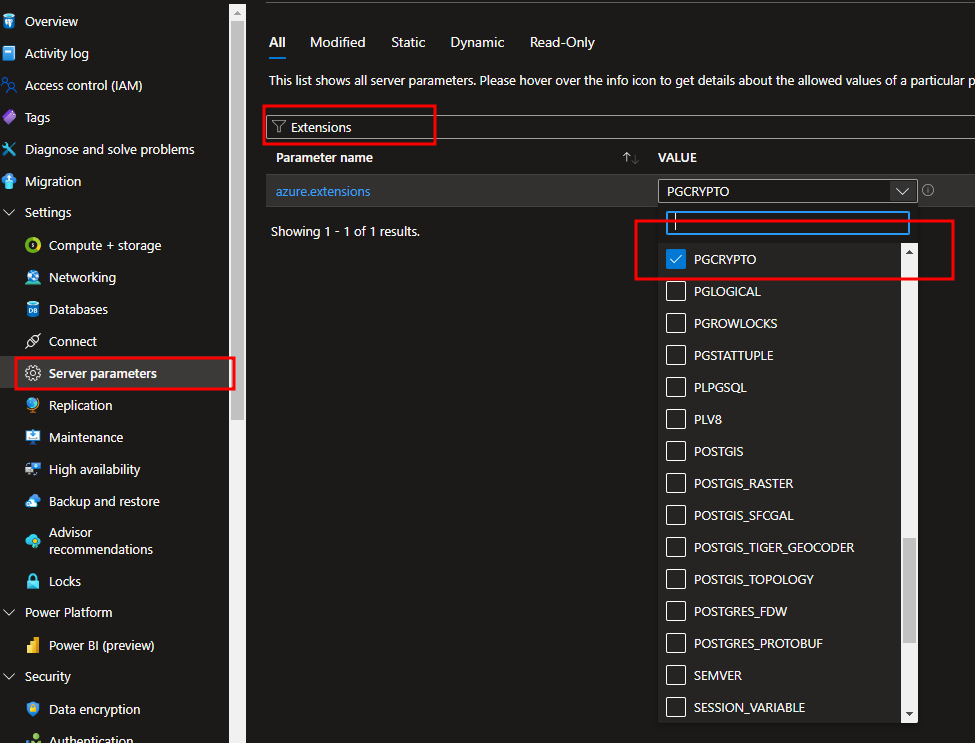
--end-ip-address 0.0.0.0? Step 4: Configure PostgreSQL Server Parameters
- Navigate to your PostgreSQL server in the Azure Portal.
- Go to Server Parameters.
- Search for Extensions.
- Under the
azure.extensionsparameter, set the value toPGCRYPTO.
? Step 5: Create the Container App Environment
Create an environment for your container apps:
az containerapp env create \
  --name <YOUR_ACA_ENV_NAME> \
  --resource-group <YOUR_RG_NAME> \
  --location southeastasia
? Step 6: Deploy Hasura on ACA
Finally, create a container app and deploy Hasura. Use the following command:
az containerapp create \
  --name <YOUR_ACA_APP_NAME> \
  --resource-group <YOUR_RG_NAME> \
  --environment <YOUR_ACA_ENV_NAME> \
  --image hasura/graphql-engine \
  --ingress external \
  --target-port 80 \
  --env-vars HASURA_GRAPHQL_SERVER_PORT=80 \
             HASURA_GRAPHQL_ENABLE_CONSOLE=true \
             HASURA_GRAPHQL_ADMIN_SECRET="<ADMIN_PASSWORD_THAT_YOU_CAN_REMEMBER>" \
             HASURA_GRAPHQL_METADATA_DATABASE_URL="postgres://<YOUR_POSTGRES_DB_ADMIN_USERNAME>:<YOUR_POSTGRES_DB_ADMIN_PWD>@<YOUR_POSTGRES_DB_SERVER_NAME>.postgres.database.azure.com:5432/<YOUR_POSTGRES_DB_NAME>?sslmode=require" \
  --min-replicas 1 \
  --max-replicas 3
? Note: Do not configure the actual DB which Hasura has to run on. This can be done once you deploy Hasura and configure the DB within it.
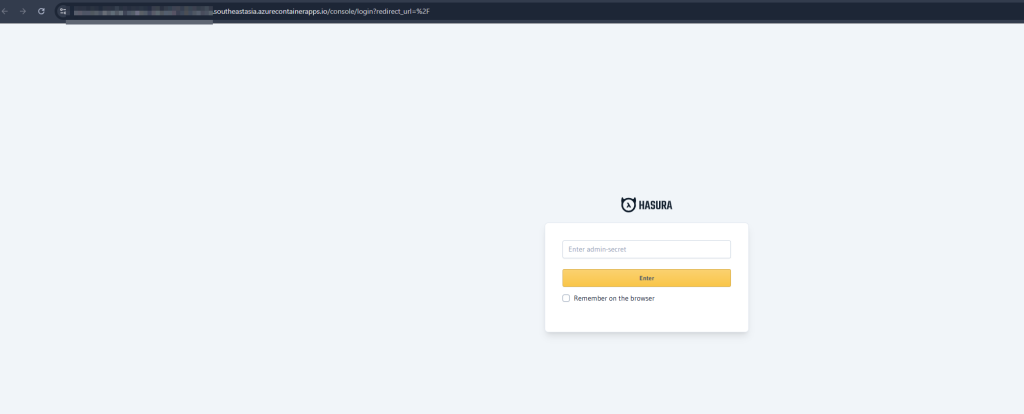
? Step 7: Verify Deployment
And that’s it! Hasura will be up and running. To get the URL, run the command below:
az containerapp show \
  --name <YOUR_ACA_APP_NAME> \
  --resource-group <YOUR_RG_NAME> \
  --output table
This will provide you with a table that includes a column called Fqdn. That would be the URL for your app—just append /console to access the Hasura Console.